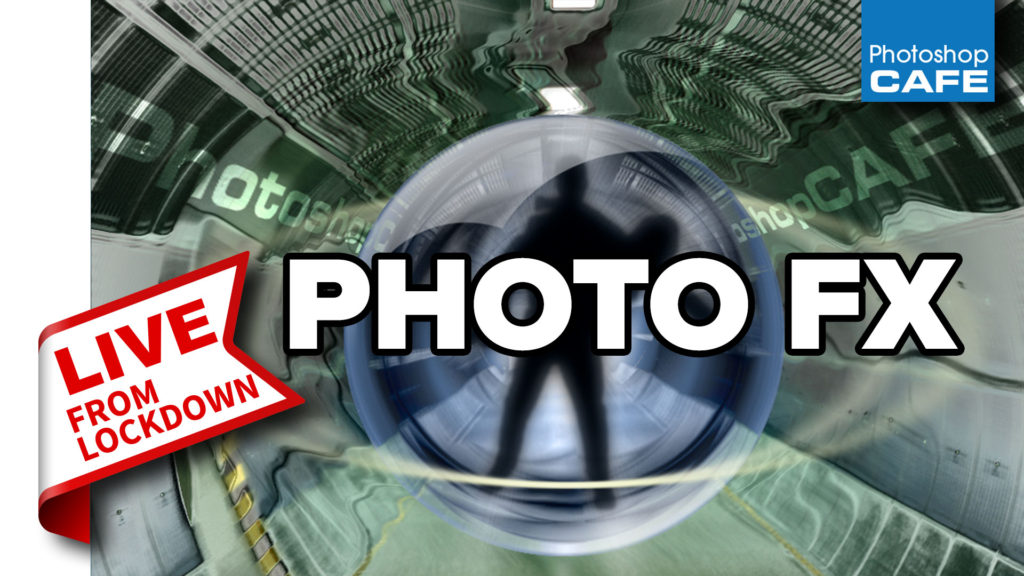
Vanishing Point is a great tool in Photoshop for working in perspective without having to figure out any of the angles yourself. When you use Vanishing point, this 2 minute tip will help you work in separate layers and have lots more control than normal.
I hope you enjoyed this quick Photoshop tip and that you find it useful for all your perspective work in the future.
Don’t worry, I haven’t stopped doing the written tutorials, I’m just a little behind and will up date all the tutorials to have written directions as well as video.
Don’t forget to subscribe to PhotoshopCAFE for free tutorials each week.
Thanks for checking it out!
Great to see you here at the CAFE
Colin
PS, remember: “Create, Don’t Steal”

This site uses Akismet to reduce spam. Learn how your comment data is processed.
How to use Repeat Transformation in Photoshop. Save time when making copies of objects and positioning them in Photoshop, this...

This week Colin shows how to make a seamless panorama in Photoshop as well as the wildly popular Tiny Planet...
In this live stream, Colin Smith shows how curves work. Learn to fix split lighting. Multiple different ways to convert...


Awesome tip as always. Have learned more about PS from you than anywhere else.
thanks!
No i haven’t
Never knew how to do this. Thanks for the great tutorials!
I’ve heard of Vanishing Point and remember seeing a video about it somewhere, but have never used it. You make it look easy and its time for me to give it a try. Thanks Colin.
No, I haven’t ! Glad to have your very practical approach, as usual. Chuck
Excellent! I love watching your videos. Thank you. Karen.
Yes. But how about working with 2 vanishing point perspective ?
you can create multiple VP grids
Hello
Appreciate your tips in PS However while ding this exercise I could not paste into the perspective layer either from the vanishing filter page or the regular layer. My layer was rasterised text. I have looked through a few forums and it seems to be a problem maybe you have an answer.
Thanks
rasterize text, or make smart object > copy > make new layer and choose as active layer> Go into vanishing point and paste
Hello Colin I really like this tutorial about vanishing point..
That is an Awesome tool that I was not aware of …Distorting Image just don’t cut it.
Many Thanks I will have many use for this..
I use layers extensively, but I have never used the specific vanishing point tools! Thank you for turning me on to this. I appreciate your knowledge and your willingness to share it.
Hi Colin. No I haven’t
Never used this tool and never even noticed it, but will certainly try it. Thanks.
Excellent, Colin!!!
I love it!!! It Is simplistic but extremely effective!!! I normally use the perspective way from illustrator. But never did the vanishing point from PS.
Thanks, once again. Keep up the great and fun work.
Great tip Colin – thank you! In my real estate photography I sometimes copy one of my photos to a TV screen that has bad reflections in my photo. I typically do this using edit/distort, but this appears to be a better way. No, I didn’t know about using a separate layer. 🙂
No I have not. Thanks for the( tip)
This was all new information for me. I love your tutorials, very helpful. Thanks
Grea tip, Colin. I had not used Vanishing Point before. Very useful. Thanks
Had no idea that it existed. This will prove to be a very useful tip going forward. Thanks again Colin
Great tip! I was not aware of the simplicity of adding the prospective layer. I will be using this for sure!
Thanx a bunch!
Love your tutorials. Pls. keep those coming. Thanks very much.
Never worked with Vanishing Point but I eagerly await each tutorial. I save them and frequently refer back to them. You have taught me more about Photoshop and Lightroom than a library of books. Kudos to you Colin.
Hi Colin,
From AusLand……….. I really look forward to ur tut’s, they have sooooooooo much info and I use them in my day to day working of Photoshop CS6. Keep ’em coming cobber, your doing a marvelous service…
Hello Colin,
Always you have shared with us amazing tips and tutorials. Thank you so much for another one.
Always appreciate learning from your tutorials.
Brief and to the point…always appreciated.
Wow, I had no idea! Thanks so much for this.
Wow, so simple! No I haven’t – and so many times I have needed this – thank you!
PS: what about having to do it in more than one place on a image – two signs? Thanks for your help.
Just apply it and then go back into Vanishing point a second time
I’m also having trouble pasting a graphic (rasterized text) into vanishing point. I ccopied the graphic to the clipboard, created a new layer, opened vanishing point and created a grid and then used Control+V to paste the graphic. The grid becomes a box with the same outline but no interior lines, nothing shows up in the top corner of the document and nothing shows up on or above my working layer. Can you help please?
I’ve tried this about 20 times and it still does not work. I don’t know why. I’ve followed your instructions implicitly and it doesn’t work.
Which part doesn’t work? What step?