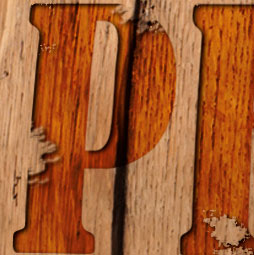
You have seen stamped metal text, maybe its on the emblem of a product etc, here is an easy tutorial to recreate this effect in Photoshop.
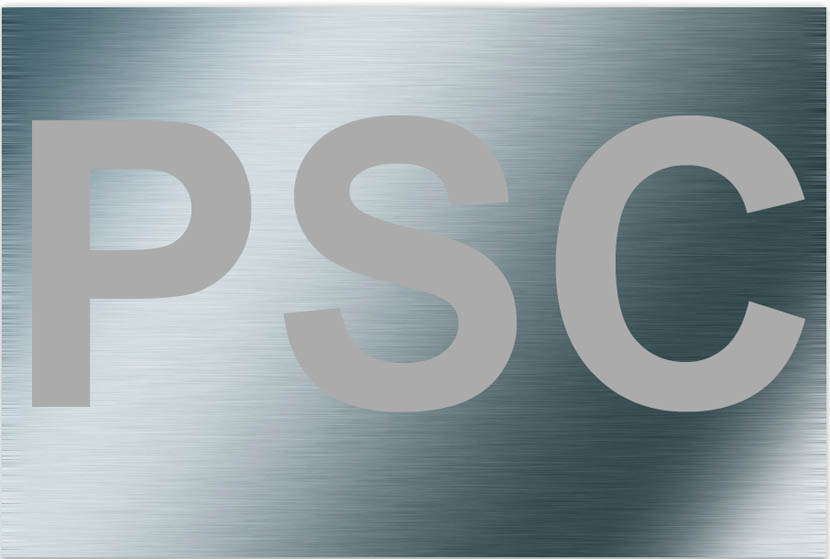
First of all start with the texture that you want to emboss. Use a photograph, or create one yourself using this tutorial.
Add your text, or you can also use a shape, such as a logo on a new layer, just make sure that there are transparent areas. The color of the text or logo doesn’t matter
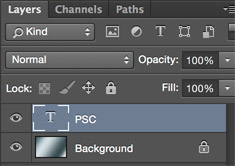
Make a copy of your background layer (Ctrl/Cmd+J)
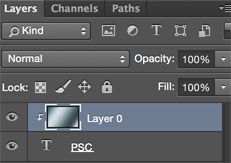
Drag the copy above the type layer
Hold down the alt/Option key and hover your mouse on the line between the new layer and the text layer. You should see a little figure of 8 icon
Click to apply and the texture should now be clipped to the text as indicated by the arrow on the layer, as shown.
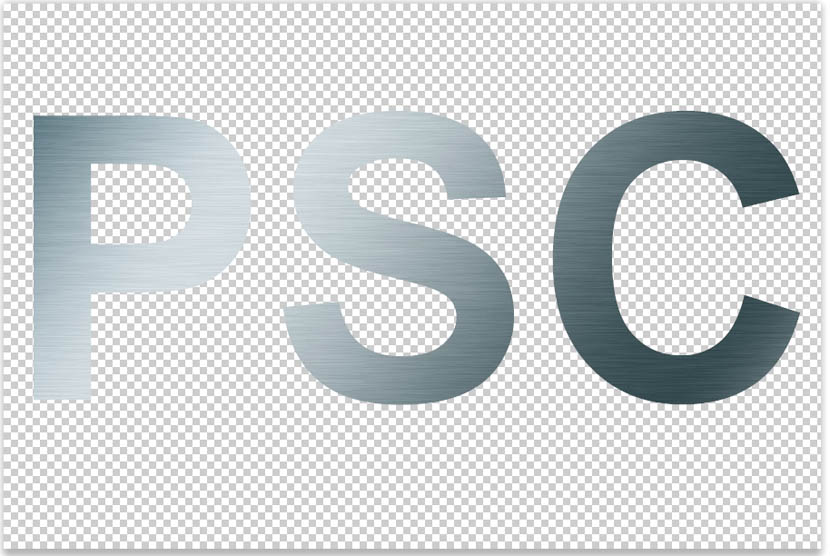
If done correctly, you shouldn’t see anything on your image now except your background texture
here is what it looks like if you hide the background for a second.
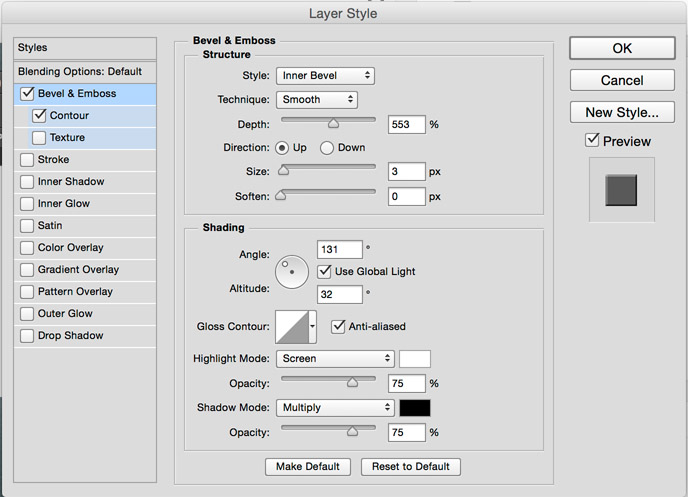
Let’s apply some layer styles. Make sure you apply the effect to the type layer, NOT the top layer. Click the type layer to select it and choose the layer styles from the bottom of the layers panel.
Add a basic bevel and emboss as shown
Turn on anti-alised, and click the Contour button on the left.
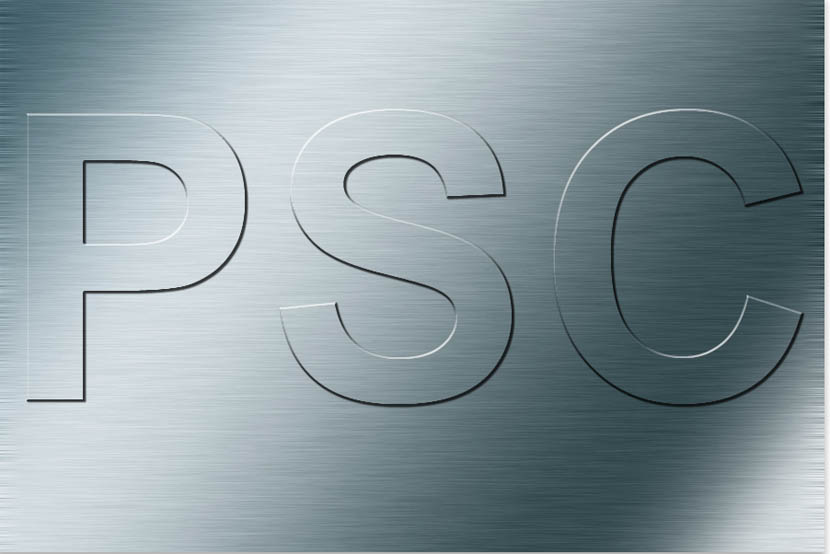
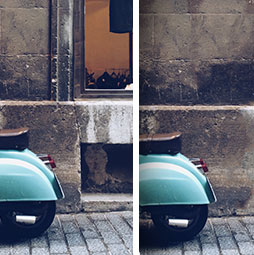
And here is the basic effect, very simple this time around.
This is what the layers panel should look like.


This site uses Akismet to reduce spam. Learn how your comment data is processed.

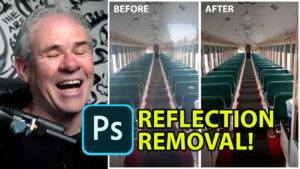
This Photoshop tutorial shows you different tools and techniques to remove anything from a photo. We will remove braces from...

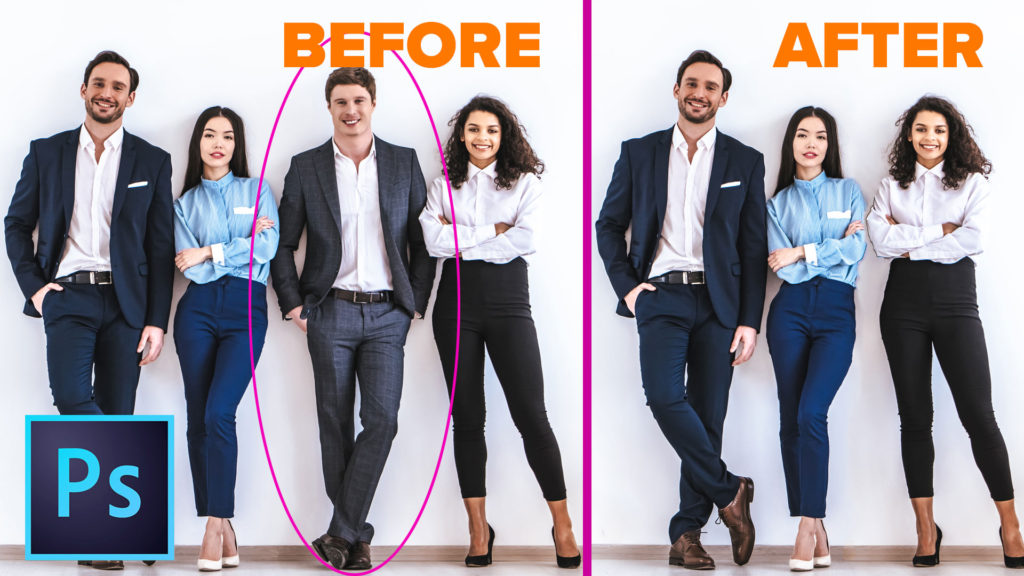
How to remove anything from a photo in Photoshop to get rid of distractions and make a clean background. This...

How to create a neon glow in photoshop. This free photoshop tutorial includes font, layer style and photo, so you...


Leave a Reply